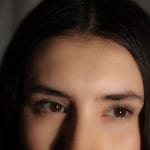
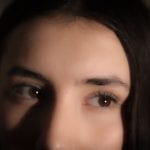
Close up portraits/still-lifes
- 1. Generous 2. Honest 3. Intelligent 4. Empathetic 5. Thoughtful 6. Optimistic 7. Reliable 8. Funny 9. Sincere 10. Understanding
- 1. Artistic 2. Humble 3. Loving 4. Supportive 5. Trustworthy 6. Unique 7. Helpful 8. Neat 9. Balanced 10. Genuine
- 1. Hardworking 2. Inspiring 3. Radiant 4. Wholesome 5. Encouraging 6. Open-minded 7. Forgiving 8. Bright 9. Fair 10. Warm-hearted
White balance read + write
I learned that white balance is super important in photography because it helps make colors look natural. Different light sources can mess with the colors in your photos, making them look weird. By adjusting the white balance, you can fix those color errors and make your pictures look way better. There are different settings like Auto, Daylight, Cloudy, Tungsten, Fluorescent, and Custom. Each setting works best for different lighting situations. Overall, knowing how to use white balance can really help you take amazing photos.
1. Auto: This setting lets the camera decide the best white balance, which is great for beginners but might not always be perfect.
2. Daylight: This is used when shooting outside in sunlight, helping to keep colors looking true to life.
3. Cloudy: This setting adds warmth to photos taken on cloudy days, making them feel cozier.
4. Tungsten: Perfect for indoor shots under regular light bulbs, it helps reduce the yellow tones to make the colors more natural.
5. Fluorescent: This setting helps balance out the greenish tint from fluorescent lights, making photos look more accurate.
6. Custom: You can set this based on your specific lighting conditions, which is beneficial for getting exactly what you want.
Illustration of iconic image
Advertising Photography
- This ad caught my eye because it looks yummylicious.
- This ad caught my eye because the water around the bottle is very beautiful like art.
- This ad caught my eye because the drink looks elegant and refreshing.
1. The company I am representing is Gucci. 2. The product is sunglasses.
3. Anyone who wants protection from the sun. 4. I would expect to see this advertisement all over social media. 5. I will use flash lighting to give it pizazz. 6. I need an elegant background and strobe color.
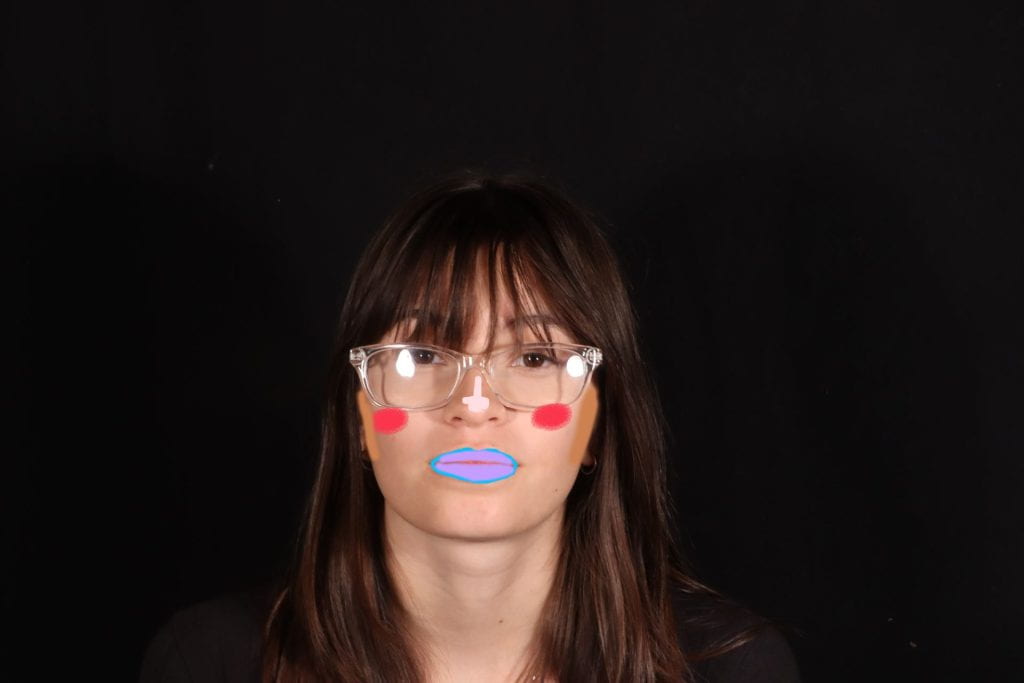
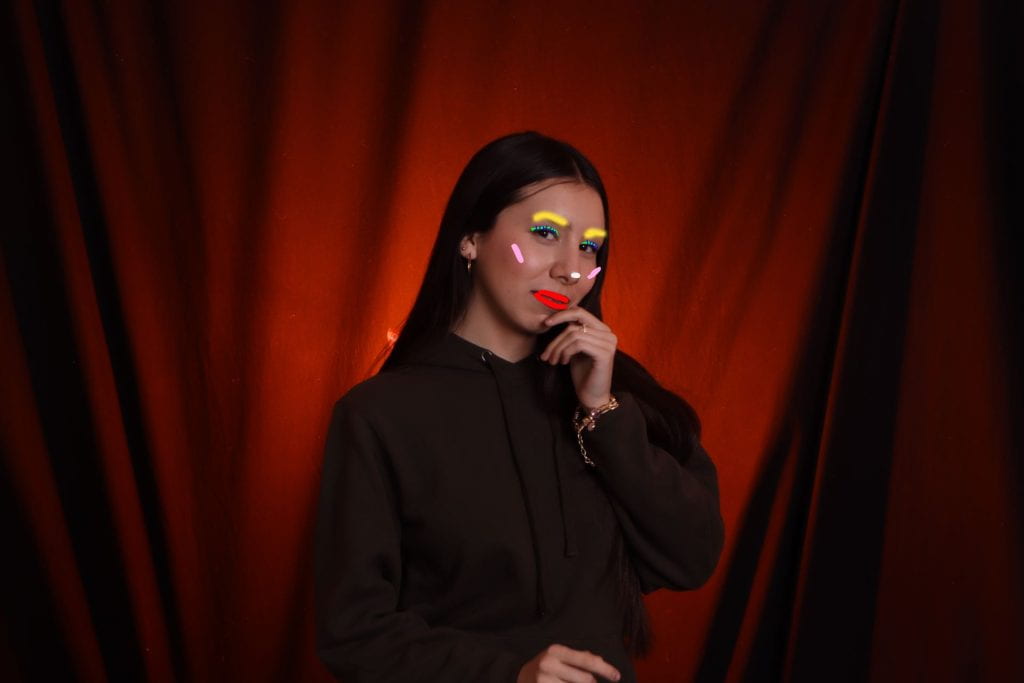
Portraits with make up
1. **Brush and Tool Presets**: Adobe Photoshop allows users to save brush options as presets, enabling quick access to used brush characteristics.
2. **Brush Tip Options**: The Brush Settings panel provides control over how color is applied, including options for soft edges, large strokes, various dynamics, blending properties, and textures.
3. **Cursor Preferences**: Photoshop offers customizable cursor preferences, allowing users to set the boldness of brush outlines and choose between different cursor types such as standard, crosshair, and brush tip size.
4. **Paint Tool Options**: The options bar includes settings for mode, opacity, flow, and airbrush simulation, which affect how paint is applied. Opacity controls transparency, while flow determines the rate of color application.
5. **Stroke Smoothing**: Users can apply intelligent smoothing to brush strokes by setting a value in the options bar. Higher values result in increased smoothing, increasing the precision and appearance of strokes.
File Formats
JPEG- Compresses images to save space, but loses some quality; great for sharing online.
HEIF- Smaller than JPEGs with similar quality; not as widely supported yet.
TIFF- High-quality and uncompressed; good for editing and printing, but large in size.
RAW- Captures all image data without compression; best for editing, but requires special software to view.
DNG- A universal RAW format by Adobe; ensures future compatibility across devices.
PNG- Intact compression keeps quality high; supports transparency.
GIF- Small files that can animate; limited colors, so not great for photos.
BMP- Uncompressed and high-quality; large files, mainly used for printing.
PSD- Photoshop’s format for saving layers; allows detailed edits but creates large files.
HDR Landscapes
what the term HDR in photography means and ways to achieve successful results:
HDR stands for High Dynamic Range in photography. It’s a technique used to capture a greater view of light and detail with standard settings in photography. This is useful in pictures with a high contrast between the darkest and brightest areas, such as landscapes with bright skies and dark grounds.
- Take Multiple Photos: Shoot the same landscape several times with different exposure levels.
- Use a Tripod: Keep your camera steady so all photos line up perfectly.
- Combine Photos: Use apps like Photoshop or special HDR apps to blend these photos into one.
- Adjust Look: Tweak the final image to make it look natural, not too fake or overdone. One could also add clouds.
- Practice: Try different places and settings to get better results.
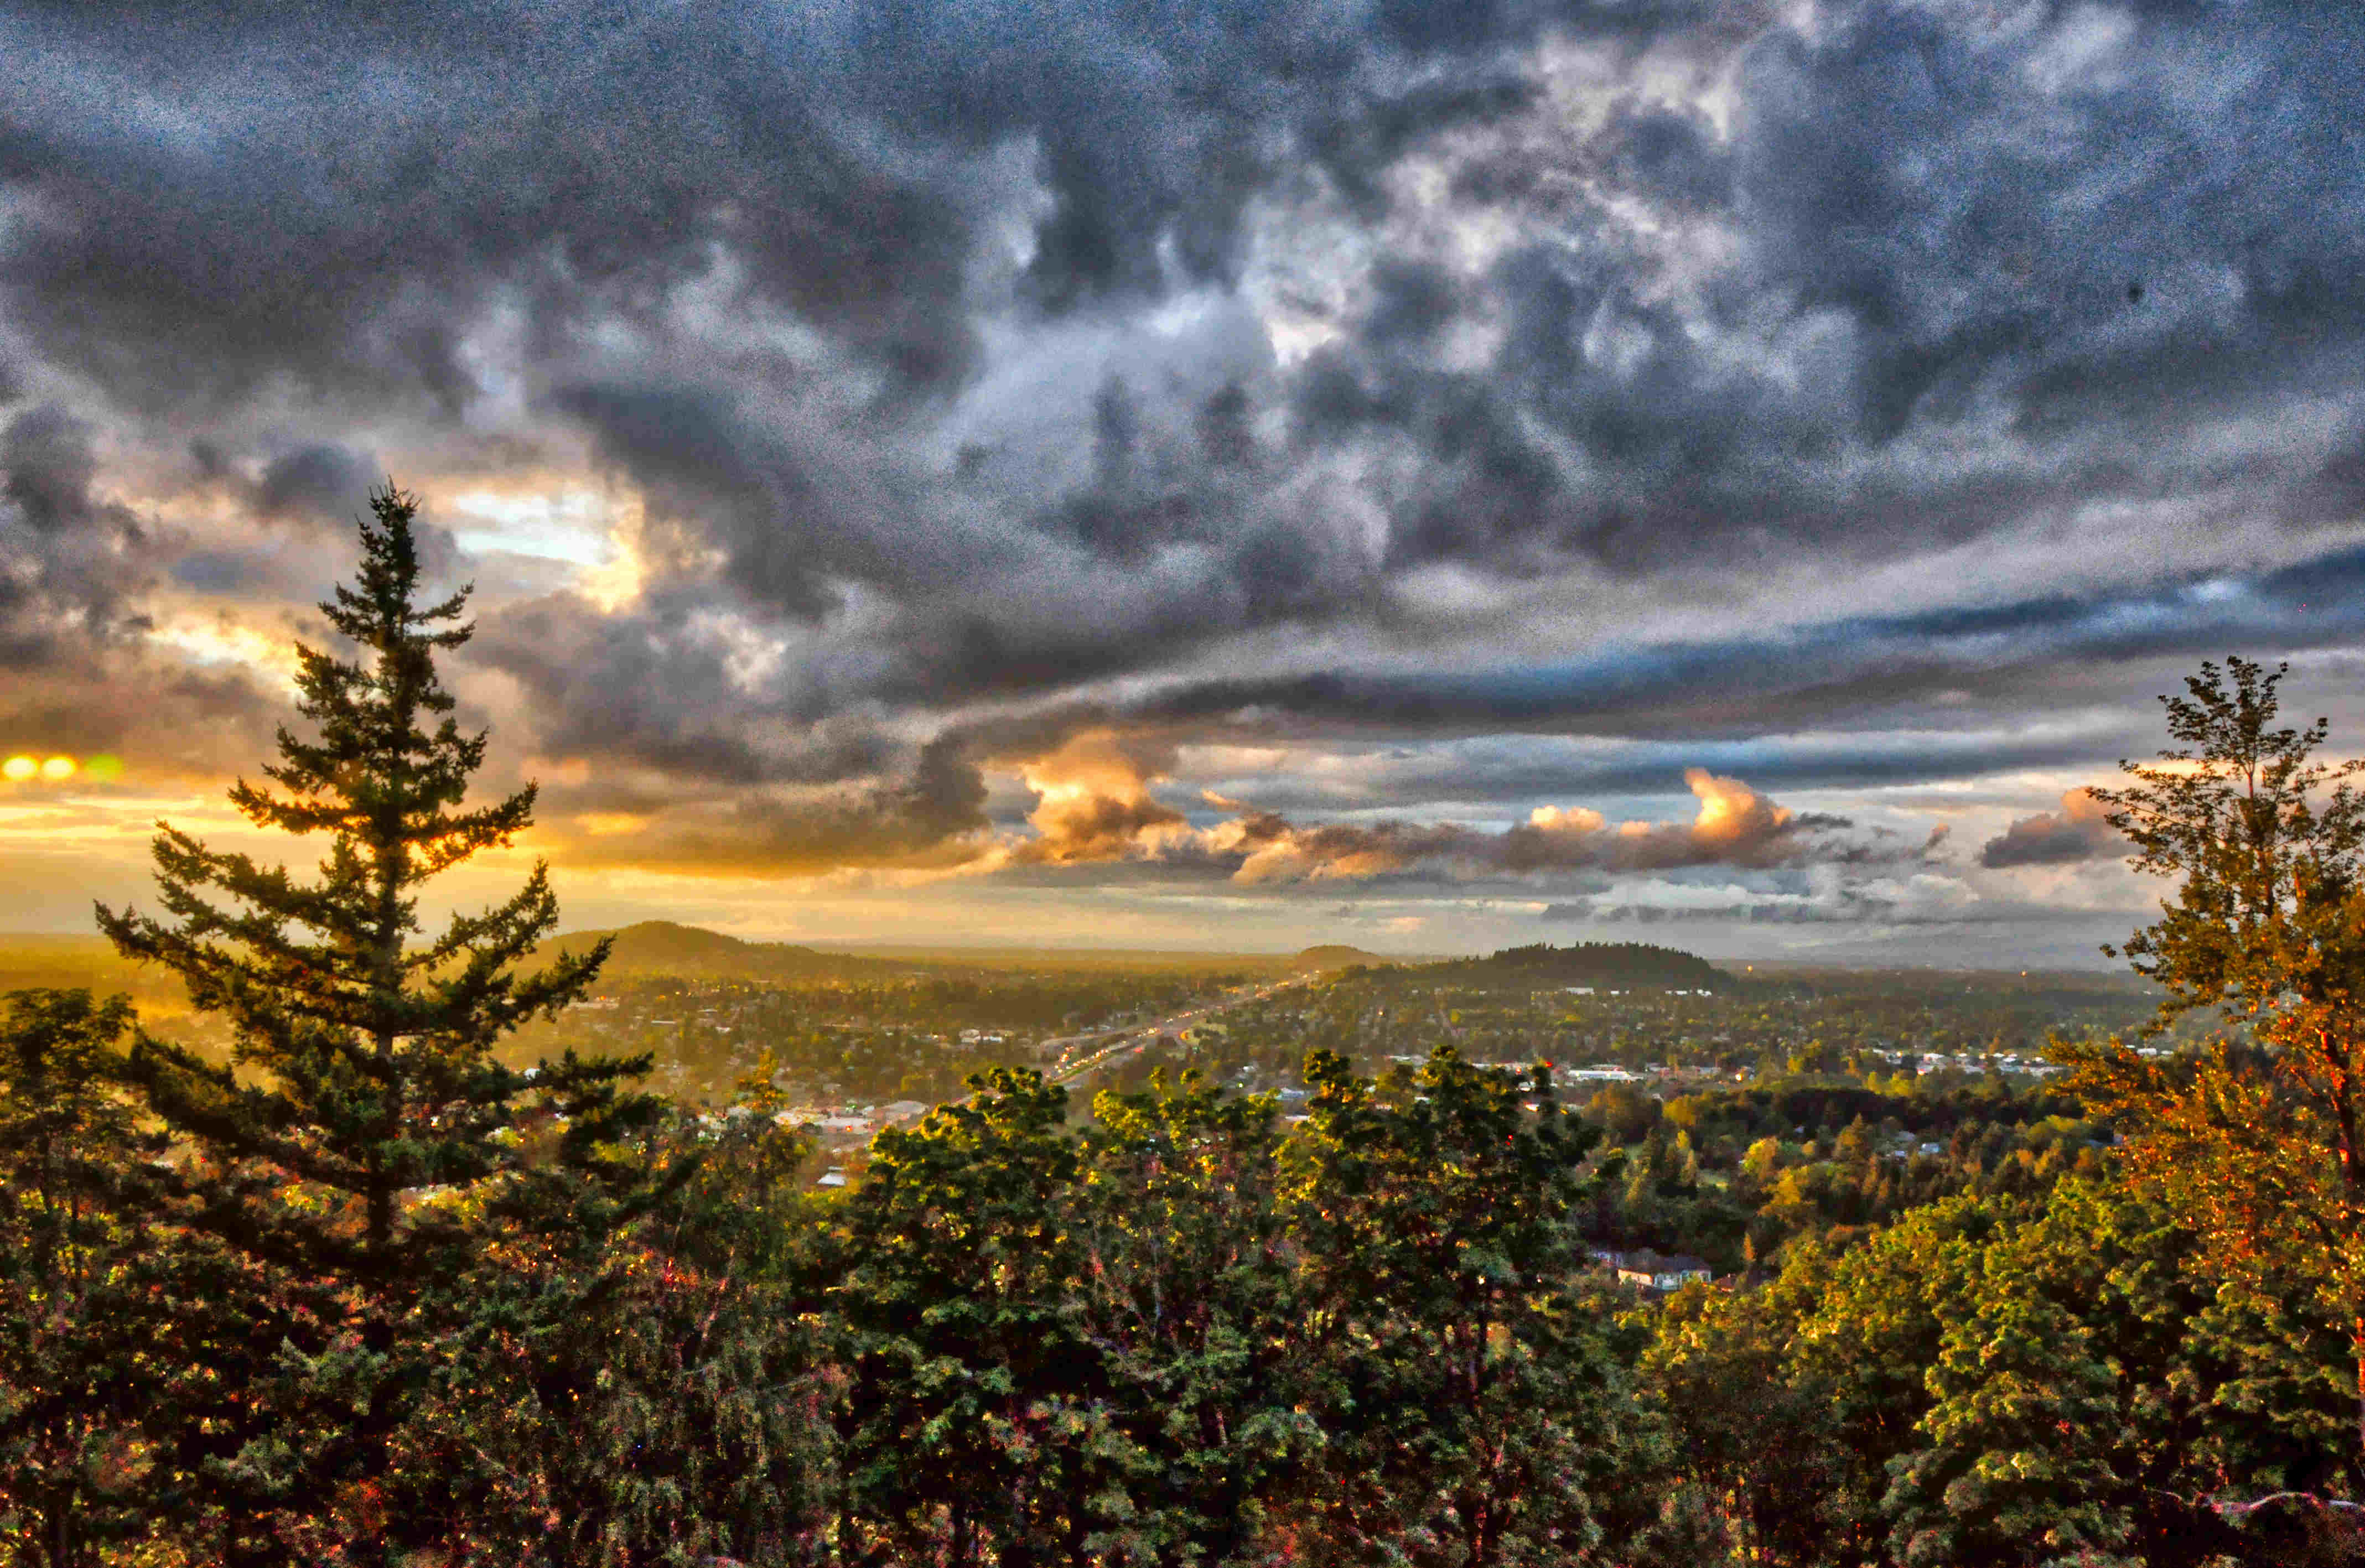
I chose this image because I love how beautiful the trees look, and I love how extraordinary nature is. This photographer captured the moment he was experimenting! The clouds look like they’re real in my opinion, but they could have been inserted. I’m impressed on how they edited the picture because I know that’s not how the landscape looked in real life.
5 Exposures: -2, -1, 0, 1, 2
MASIL: 1/320 sec; f/16; ISO 400; Manual
Mirror Imagery
Multiple Exposure with flash and slow shutter speed
In order to get the final results, I went into the studio and turned off the lights, my friends and I each took turns taking pictures. I was one in charge of the flash, but when it was my turn, Karla took over the flash. I posed 3 different times during the 15 seconds. The camera settings were set with the aperture F 13, 200 ISO, and the shutter speed was at 15 seconds, the camera was on a self-timer.

